The thought of creating a website can be frightening when you aren’t that tech-savvy. But today making a website is easier than you may think. You don’t have to spend hours upon hours learning code. You can create a website in very little time using WordPress. And this complete step-by-step guide will show you how to build a website with WordPress.
There are amazing benefits to knowing how to start a website with WordPress. They include but not limited to the following.
You’ll save a lot of money. If you know how to make a website, you don’t have to hire web designers or developers.
No need for a programmer’s help to edit your website every time you need something done. You can get most things done using the intuitive WordPress dashboard.
Keeping up with market trends is easier. This is because WordPress provides support and regular updates.
No matter the venture, you can build your website by yourself. Unless you need specific advanced programming knowledge.
All you need to do is to take action as we show you how to create a WordPress website to gain all those benefits. A bit of patience will serve you well too. Knowing how to build a website on your own is invaluable.
Note that WordPress is free and open-source, which means anyone can change the CMS (content management system). While the platform is free, you still have to register your domain name (e.g. myname.com) and arrange web hosting. Web hosting services provide a server for storing your site files so people can access them.
With that noted, let’s get started with the WordPress tutorial.
There are two ways to take advantage of the WordPress platform.
The first is to use the hosted WordPress option, which is what this WordPress website tutorial focuses on. It’s the easiest way to start a site and the most ideal solution for beginners.
The second is to self-host WordPress by downloading the latest files and installing them on your server. You can also use a Managed WordPress hosting service, which covers the hosting and automatic installation of files. These solutions are best for tech-savvy users.
Domain Name and Hosting
You’ll need to register for hosting and a domain name now if you plan on self-hosting WordPress. Otherwise, move on to step two.
Visit WordPress and sign up for an account. WordPress is provided free of charge but you have the option of improving the service. After signing up, you can move on to step three.
Step 3: Create Your Website
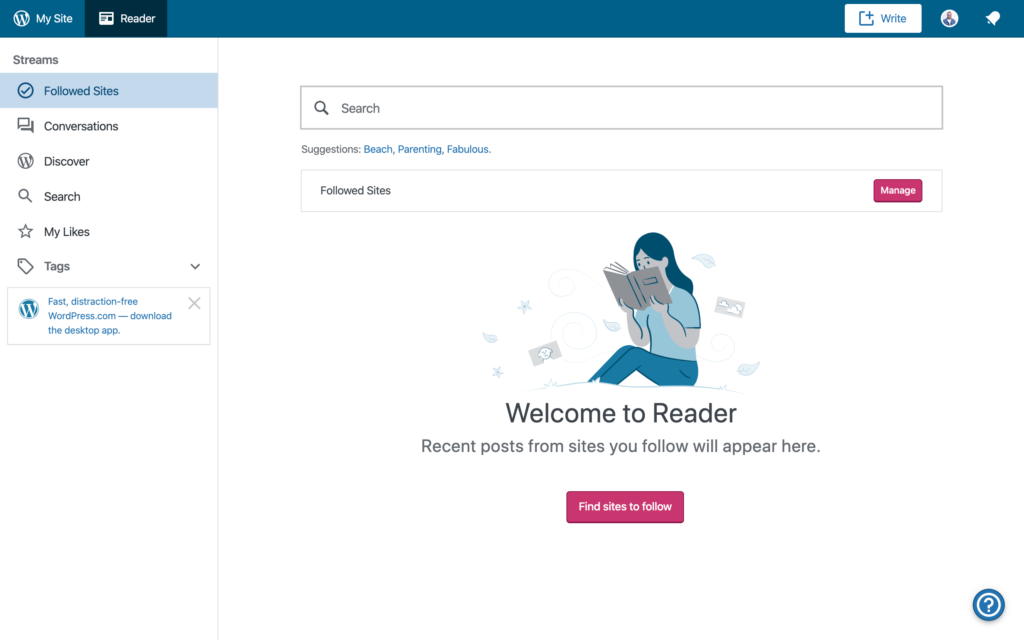
You should see the ‘Reader’ dashboard after creating your WordPress account. The dashboard can be explored later since it has nothing to do with creating your site.
Click on ‘My Site’ located on the top left-hand side of the page to access the My Site dashboard. Then click on the ‘Create Site’ button.
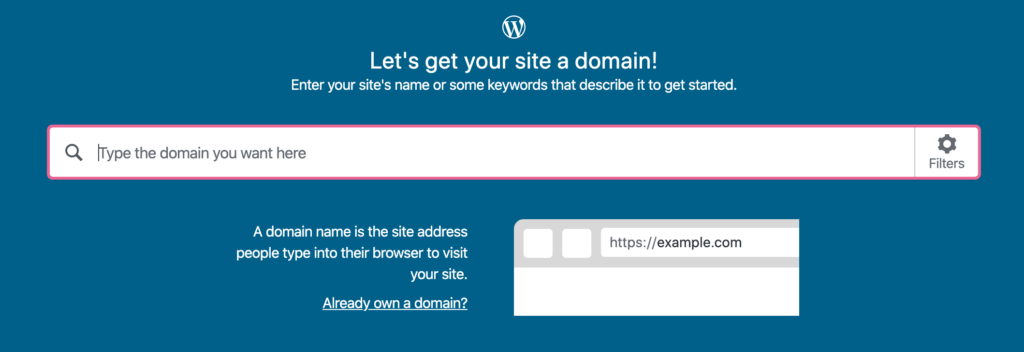
On the next page, you’ll be asked to search for the domain name you want. But if you already own a domain, click on ‘Already own a domain?’ located right below the search box.
Perform a domain name search and you’ll get a bunch of options. Choose the free subdomain provided by WordPress if you want to try out the platform first. Otherwise, pick a domain name that you like.
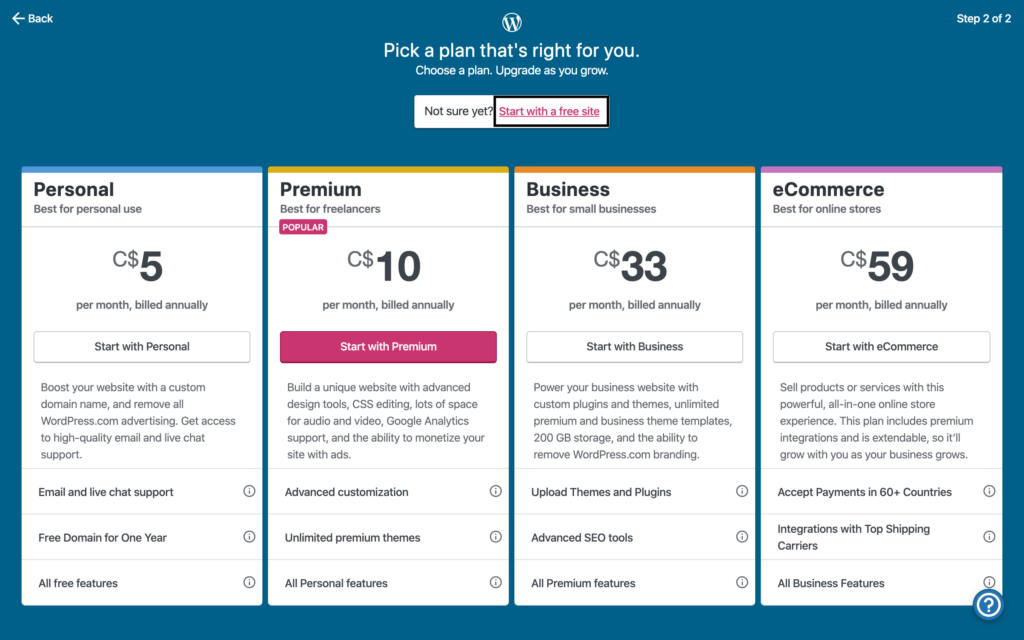
After selecting your domain or subdomain name, WordPress will show you some premium hosting plans. You can click on ‘start with a free site’ if you’re not ready for professional hosting plans.
After selecting a plan, WordPress will be installed and ready for customization. You may be prompted to enter payment details if you chose a paid plan.
Once set up is complete, there’s a ‘Site Setup List’ that you can follow to get going. Go through the entire list to set up your website.
Next, we’re going to show you how to customize the design.
Step 4: Customize
Time to customize your website.
Choosing a WordPress Theme
The next step is to customize your theme or website layout.
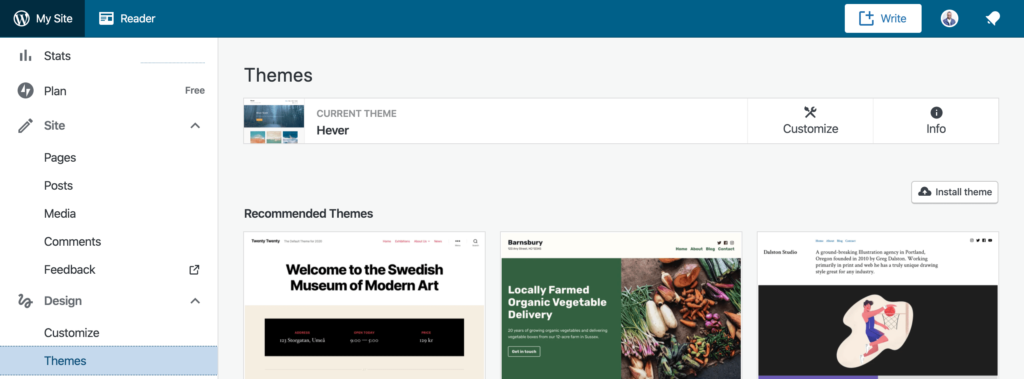
From the ‘My Site’ dashboard, click on ‘Design’ from the left navigation menu and select ‘Themes’.
You’ll see a bunch of WordPress themes. From there, select a theme that is suited for your website niche or industry. You can click on ‘Show All Themes’ below to access even more options and many are free.
Select a theme and on the page that appears, click ‘Activate this design’ located below the WordPress theme name.
Customizing the WordPress Theme
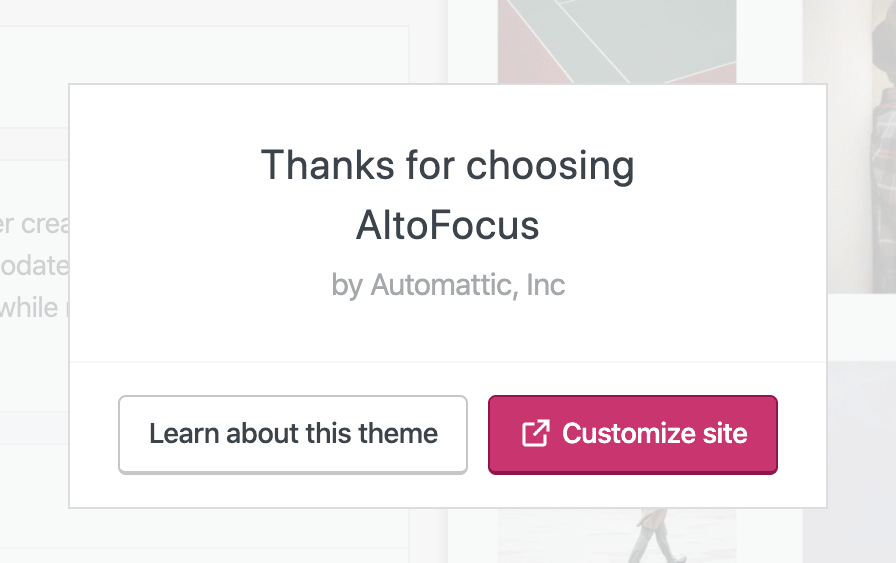
Once your theme is activated, WordPress will prompt you for customization. Click on ‘Customize Site’.
If you don’t see the prompt, here’s another way to access theme customization.
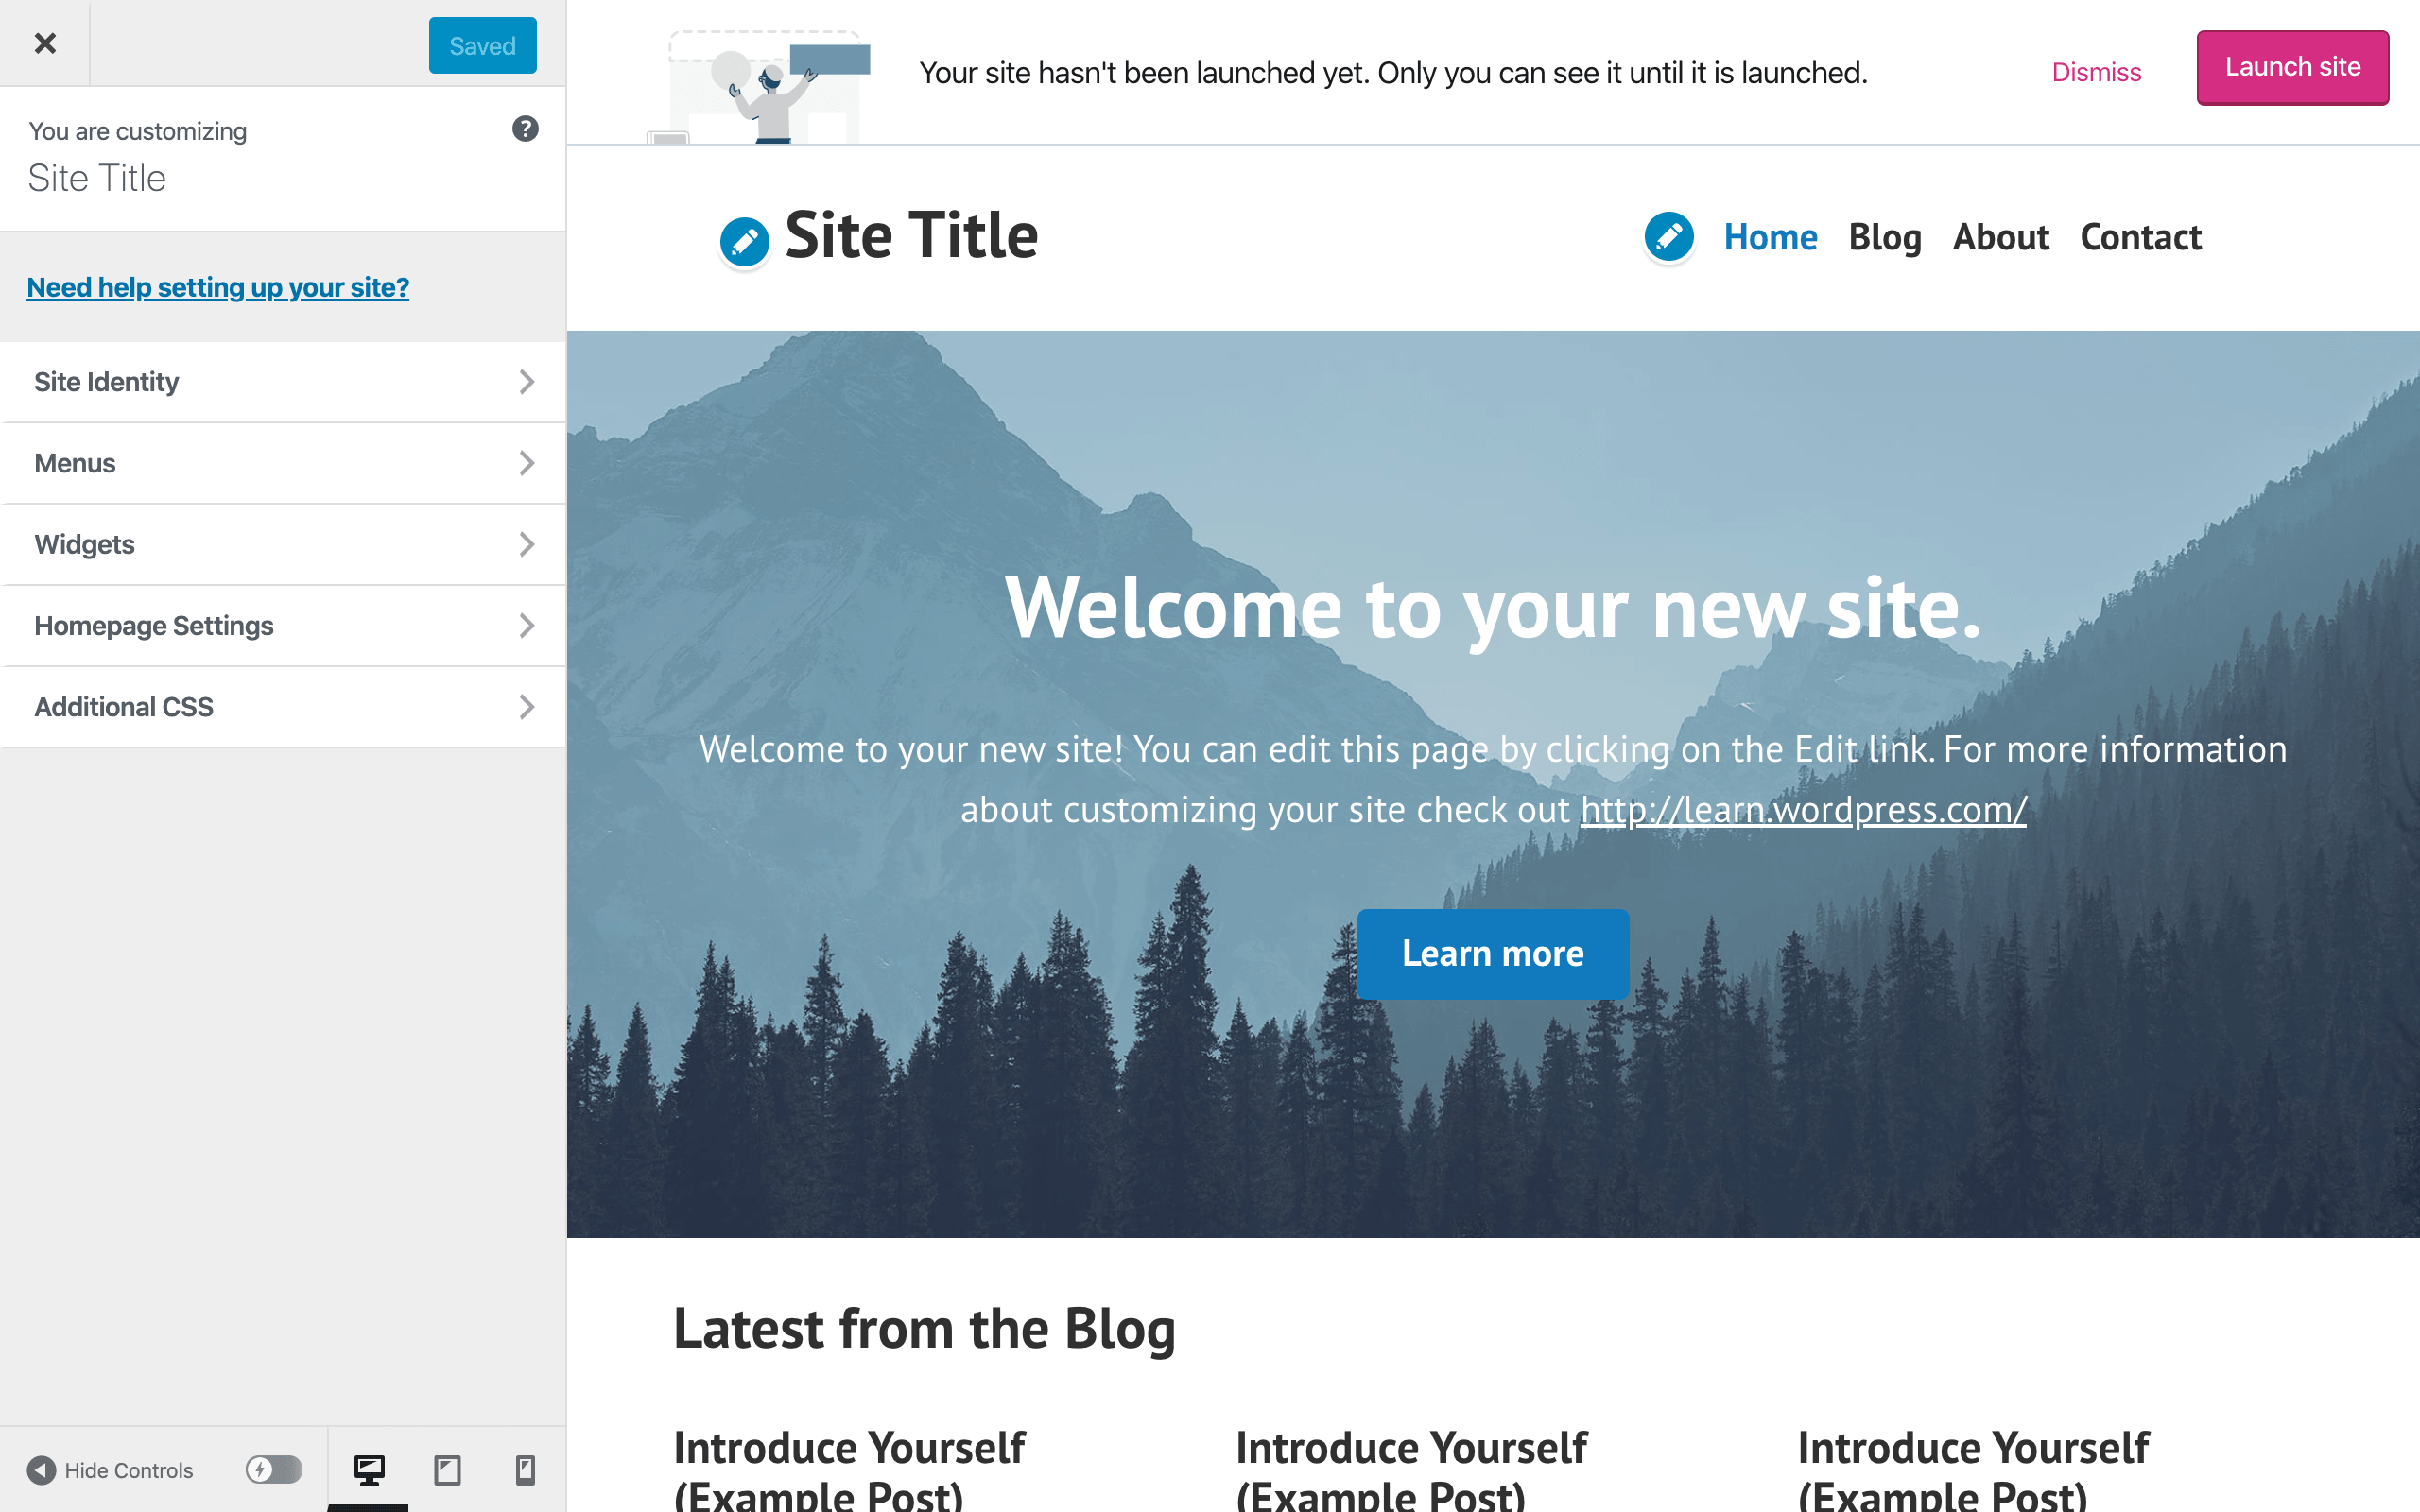
From the ‘My Site’ dashboard, click on ‘Design’ located on the left navigation menu. A dropdown box will appear, click on ‘Customize’.
From here, use the left navigation panel to make changes. You can make adjustments to branding, menu items, set your homepage, and others. Here’s an explanation of each available section.
Site Identity
You can add your site’s title or name, tagline, logo, browser icon, and customize the footer credits.
Menus
This section allows you to edit and/or create a new navigation menu. You can adjust the location of each menu using ‘Menu Locations’. WordPress typically gives you the options of displaying menus in the header, after the header, and footer areas.
Widgets
Widgets are blocks of content that you can add in various locations on your site. A widget can display information from third-party apps or custom info that you create. The ‘Widgets’ section lets you add content to available locations based on your theme.
Homepage Settings
Note: It’s better to set this section up after creating your pages, which we’ll cover in step five.
Homepage Setting is where you set your homepage and blog page. You can use a static page or display all your posts whenever someone visits the site. A static page is the best option for most people.
Additional CSS
Cascading Style Sheets (CSS) is a programming language used for specifying the appearance of documents. You don’t need to use this section unless you know how to program websites with CSS. Also, this area is not available for websites that are on the free WordPress hosting plan.
Once you’re done making changes, click the ‘X’ located on the top left to exit.
Step 5: Add and Manage Content
Adding and managing content with WordPress is super easy.
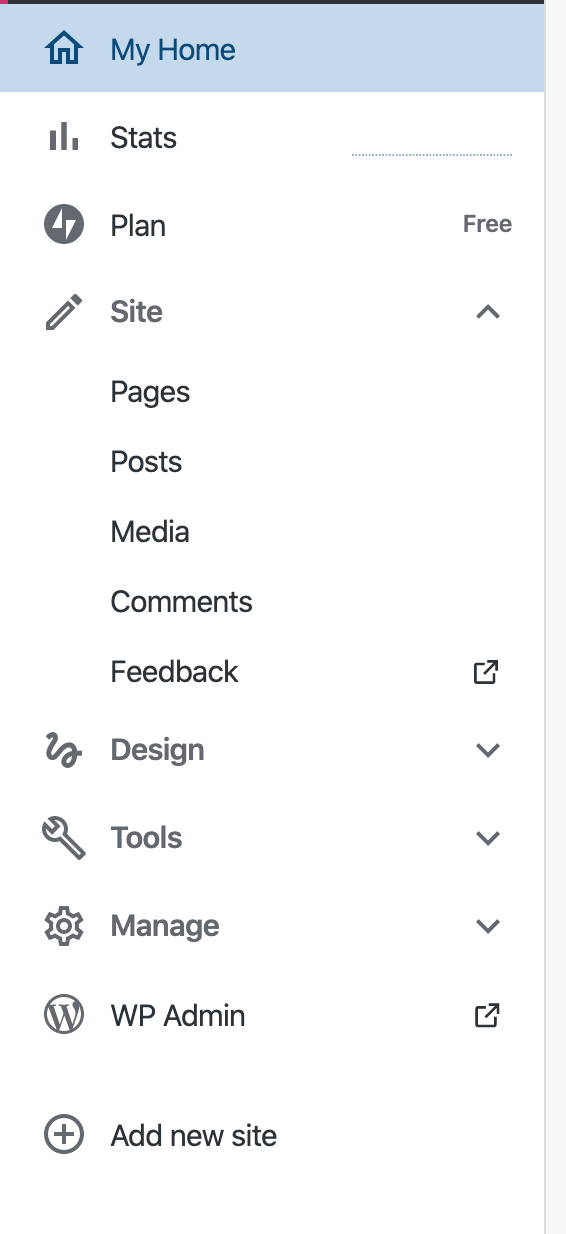
From the ‘My Site’ dashboard, click on ‘Site’ located on the left navigation menu.
As you can see on the screenshot above, several functionalities can be accessed from the submenu.
Here’s an explanation of each submenu item.
Pages
Here, you can add or edit ‘Pages’. These are meant to be static web pages that change infrequently. Pages don’t have a date and time stamp. It is what you should use for publishing landing or sales pages.
Posts
‘Posts’ are timely content with a date and time stamp. Use Posts whenever you want to share articles on your website.
You can write your article directly on WordPress or paste something you’ve written using Word or other software. If your website is a blog, then you’ll use Posts for most things. Also, Posts are listed in reverse chronological order. That means the newest displays at the top.
Media
Upload all the images, videos, audio, and documents that you want to use on your site here. WordPress gives 3GB of free storage space but you can upgrade it if you need more.
Comments
This is where you’ll find all the comments people leave after reading your content (e.g. blog posts). You can moderate comments from here too.
Feedback
Here, you can view messages from people that use your contact form. You can also create new polls and manage existing polls, including seeing how the audience rate’s your content. In addition, you can tweak the settings concerning how you want WordPress to manage these features.
Now let’s discuss ‘Tools’.
Tools: Features Explained
You can expand the functionality of your site, backup data, implement marketing features, and more from ‘Tools’. It is located on the ‘My Site’ dashboard.
Click on ‘Tools’ and you’ll find several options on the dropdown box. Here’s an explanation of each one.
Plugins
This is where you go to expand the functionality of the website. WordPress has tons of plugins that can increase the capabilities of your site. You have to be on the business plan to use this feature.
Import
Here, you can import content from other platforms and WordPress installations. WordPress supports import from the following, though not a limited list.
Other WordPress-based websites
Blogger
Medium
Godaddy
Squarespace
Wix
And more
Export
Use this area to export your content and media. This way, you’ll have a backup of your content for later use or restoration purposes.
Marketing
This section provides access to marketing integrations and tools. You can do things like connect social networks for automatic sharing of posts and make SEO adjustments.
Earn
WordPress comes with built-in payment collection systems. This is ideal if you plan on earning money with your website. You can earn ad revenue and collect reoccurring payments among others.
Activity
You can access activity tracking data and monitor all activities across your site in this section.
Manage: Hosting, Domain and Settings Configurations
Use ‘Manage’ located on the left navigation menu of the ‘My Site’ dashboard to configure hosting, domain names, and others. For example, you can change how your website is hosted or the domain name it’s associated with.
Here are some details on each available option.
Hosting Configuration
This is where you’ll find advanced hosting features such as SFTP (SSH File Transfer Protocol) and Database access. This section is available for business plans.
Domains
Here, you can add domains or modify existing domain names that point to your site, including activate email features.
People
This area allows you to invite people to your team. That means you can have multiple website managers or users. You’ll need a person’s email address to invite them. Also, you have to assign a role to each user.
WordPress supports the following user roles.
Administrator – The admin role gives the user full power over the website. They can delete, edit, create and publish anything. Admins can view any private data, add new administrators, and much more.
Editor – This role lets the user create, edit, publish, and delete any content on the site. They can manage categories, links, and moderate comments.
Author – Authors can create, edit, and delete their posts. They can also reply to comments made about their content. Authors cannot modify or delete any other posts or pages on the site.
Contributor – This role allows the user to create and edit their content. They cannot edit someone else’s post. All content provided must also be reviewed by an admin before publishing. This user role is ideal for employed or freelance writers.
Viewer – This person can view the site. No editing privileges are provided.
Settings
This section is used to manage everything else that is important about your website. You can manage how people comment on your site, how WordPress displays posts, feed settings, site name, etc.
WP Admin: Native vs. Default WordPress Dashboard
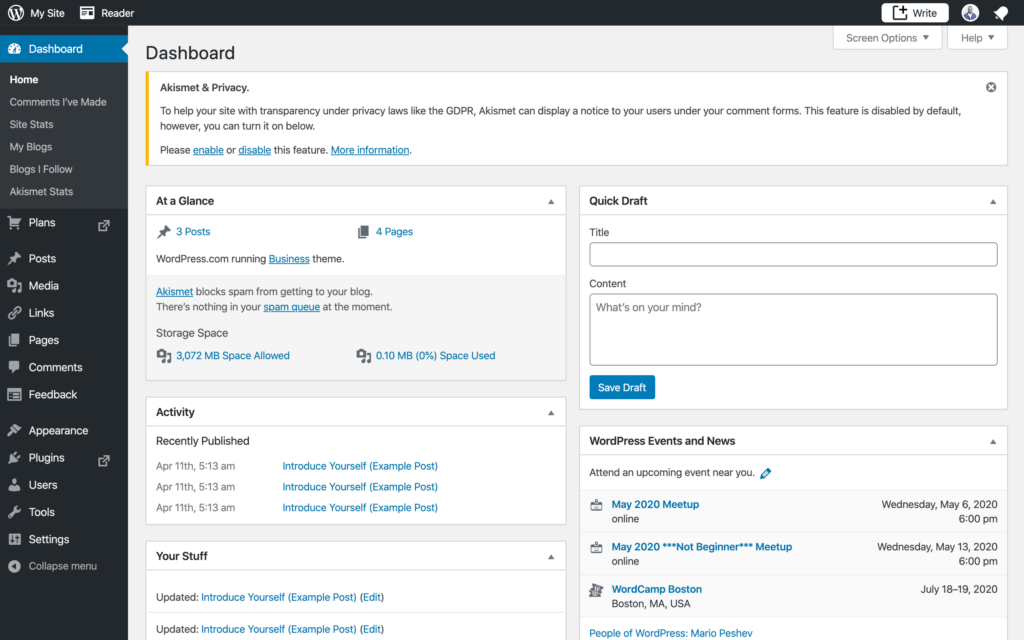
From the ‘My Site’ dashboard, click on ‘WP Admin’ located on the left navigation menu. This will open the native WordPress admin dashboard. It is the default control panel seen on a self-hosted WordPress site.
You’ll rarely use it with a hosted WordPress installation unless you choose to. The features are the same as the default admin dashboard we’ve discussed.
The only difference is in how the navigation menu is ordered. Some people will prefer the native WP Admin, while others won’t. It comes down to preference.
Wrapping Up
Now you know how to build a WordPress website from scratch.
This method is the most budget-friendly way to start a website. With WordPress, you can do everything yourself without having to hire a web designer or developer. In fact, WordPress is the number one website building platform on the web. More than 33 percent of sites are powered by it. Have fun and good luck.
Affiliate disclosure: Some links in this post are affiliate links. See full disclosure in the page footer.
Not sure what to read next?
I can suggest related Tech Help Canada articles based on the topic you’re reading now.


